


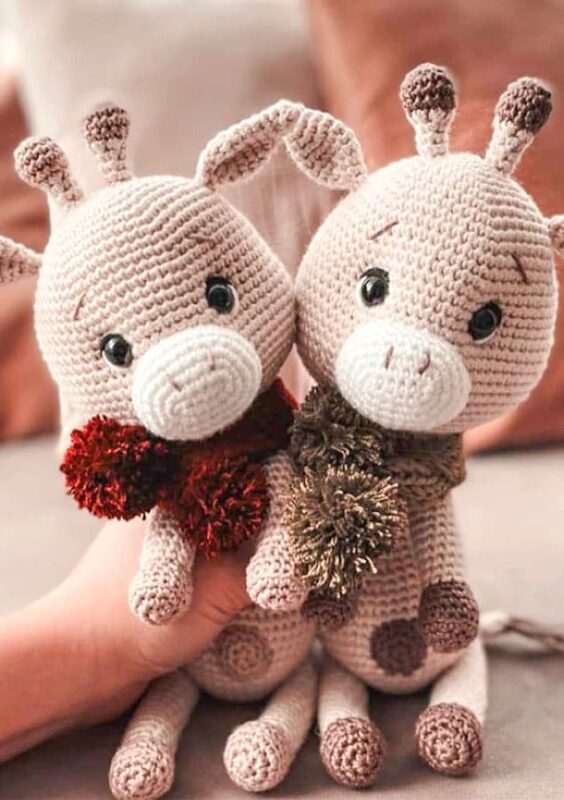
Hello again everyone, today our character is cute crochet giraffe. You can easily give handmade amigurumi toys to your children. Each one contains soft and harmless materials. In addition, if you want to have a pleasant time while crocheting the pattern, stay tuned to our site.
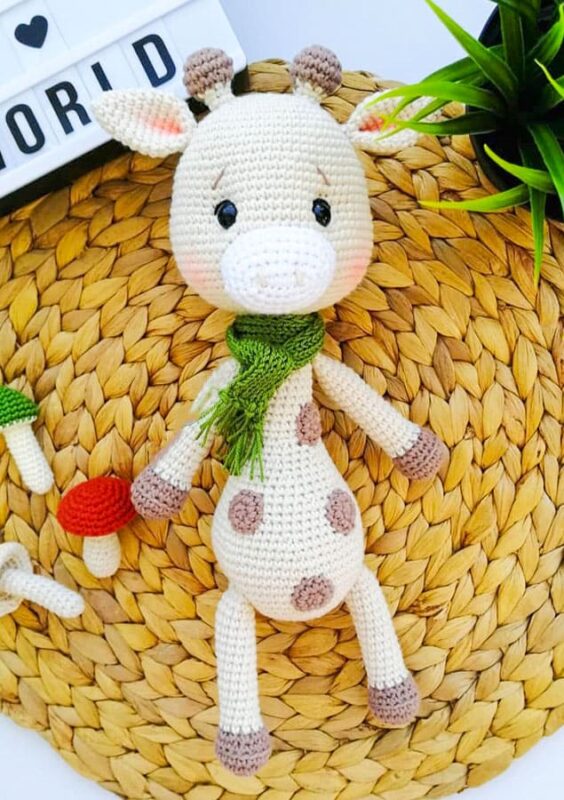
Giraffe franky amigurumi pattern, your children will love this tiny and cute crochet giraffe toy, it looks very stylish with its tiny ears and neck scarf. You can make the scarf in any color and pattern you want, the choice is entirely up to you. Now we leave you with this beautiful pattern, you can complete this cute crochet pattern by following the detailed step by step pattern instructions.
PDF Cute Franky Giraffe Amigurumi Pattern
Designer
Instagram: n_iniko
Abbreviations
sc: Single crochet
inc: Increase
dec: Decrease
tr: Treble/Triple crochet
TRinc: Work 2 tr sts intothe same st.
dc: Double crochet
hdc: Half double crochet
sl-st: Slip stitch
ch: Chain
st/sts: stitch/stitches
FLO: Front loop only.
BLO: Back loop only.
BL: Bobble Stitch: (Yarn over insert your hook into the st and pull up a loop.Yarn over again and pull through 2 loops) repeat the steps in the same st until you have a total of 5 loops on your hook.Yarn over and pull through all 5 loops at once.
Reverse single crochet: Ch 1, working from left to right, insert your hook into the next st,turn hook to the left side, grab yarn and pull through. There are now 2 loops on your hook. Draw up a loop, bring yarn over the hook again and draw this loop through both loops.
(…)- x times: Repeat the instructions between parantheses x times.
(…): Reprensents the number of sts you should have at the end of the round.
K: Knit
SI: Slip
P: Purl


Head
1. 6 sc in MR 6 sc
2. inc x 6 12 sc
3. 1sc, 1 inc x 6 18 sc
4. 1sc, inc, 1 sc x 6. 24 sc
5. 3 sc, 1 inc x 6 30 sc
6. 2 sc, inc, 2 sc x 6 36 sc
7. inc, 5 sc x 6 42 sc
8. 5 sc, inc, 1 sc x 6 48 sc
9. 3 sc, inc, 4 sc x 6 54 sc
10. 2 sc, inc, 6 sc x 6. 60 sc
11- 13. sc around 60 sc
14. inc, 9 sc, x 6 66 sc
15- 18. sc around 66 sc
19. 5 sc, inc, 5 sc x 6 72 sc
20- 24. sc around 72 sc
25. inc, 11 sc x 6 80 sc
26. 6 sc, dec, 5sc x 6 72 sc
27. dec, 10 sc x 6 66 sc
28. 9 sc, dec x 6 60 sc
29. 2 sc, dec, 6 sc x 6 54 sc
30. 3 sc, dec, 4 sc x 6 48 sc
31. 5 sc, dec, 1 sc x 6 42 sc
32. dec, 5 sc x 6 36 sc
33. 2 sc, dec, 2 sc x 6 30 sc
34. 3 sc, 1 dec x 6 24 sc
35. 1 sc, dec, 1 sc 6 18 sc
36. 1 sc, 1 dec x 6 12 sc
37. dec x 6 6 sc
• Stuff the head firmly.
• Place the safety eyes (9mm) on round 19/20 with 10 sc apart (8 sc after attaching)
• Sew the muzzle 1 sc under the eyes and sew the nose
• Sew the eyebrows on round 14/16
• Sew the head to the body on round 34 counting the head.
The size of Franky, will depend on the yarn and hook size you use This pattern is an intermediate pattern
I used “bambu sakura Kartopu” 100 gr.
My hook size is 2,2 mm
Ears
1. 4 sc in MR 4 sc
2. 1 sc, 1 inc x 2 6sc
3. 2 sc, 1 inc x 2 8sc
4. 3 sc, 1 inc x 2 10 sc
5. 4 sc, 1 inc x 2 12 sc
6. 5 sc, 1 inc x 2 14 sc
7. 6 sc, 1 inc x 2 16 sc
8. sc around 16 sc
9. 7 sc, 1 inc x 2 18 sc
10. sc around 18 sc
11.7 sc, 1 decx 2 16 sc
12. 6 sc, 1 dec x 2 14 sc
13. 5 sc, 1 dec x 2 12 sc
• fold the ears and sew the sides together and attach them on round 10 to the head
Horns
Start with brown yarn:
1. 6sc in MR 6sc
2. inc x 6 12 sc
3. 1 sc, 1 inc x 6 18 sc
4. sc around 18 sc
5. 1 sc, 1 dec x 6 12 sc
Change your yarn color
6. 1 sc, 1 dec x 4 8sc
7- 8. sc around 8 sc
• Sew the horns on round 3/6
Muzzle
1. Ch 8
2. Inc in second from your hook, 5 sc, 3inc, 5 sc, inc 16 sc
3. Inc x 2, 5 sc, inc x 3, 6sc 21 sc
4. 1 sc, 1 inc x 2, 6 sc, inc, 1 sc, 1 inc x 2, 6 sc 26 sc
5. 2 sc, 1 inc, x 2, 7 sc, inc, 2 sc, 1 inc x 2, 6 sc 31 sc
6- 7. sc around 31sc
• Sew the muzzle on round 21/27
Body
1. 6 scinMR 6 sc
2. inc x 6 12 sc
3. 1 sc, 1 inc x 6 18 sc
4. 1 sc, inc, 1 sc x 6 24 sc
5. 3 sc, 1 inc x 6 30 sc
6. 2 sc, inc, 2 sc x 6 36 sc
7. inc, 5 sc x 6 42 sc
8. 5 sc, inc, 1 sc x 6 48 sc
9. 3 sc, inc, 4 sc x 6 54 sc
10. 2 sc, inc, 6 sc x 6 60 sc
11-15. sc around 60 sc
16. 2 sc, dec, 6 sc x 6 54 sc
17. sc around 54 sc
18. 3 sc, dec, 4 sc x 6 48 sc
19. sc around 48 sc
20. 5 sc, dec, 1 sc x 6 42 sc
21. sc around 42 sc
22. dec, 5 sc x 6 36 sc
23-24. sc around 36 sc
25. 2 sc, dec, 2 sc x 6 30 sc
26. sc around 30 sc
27. 3 sc, 1 dec x 6 24 sc
28. sc around 24 sc
29. 6 sc, 1 dec x 3 21 sc
30- 44. sc around 21 sc
• Stuff the body firmly
• Place the dots as you like
• Sew the head to the body
• Actually if you don’t ad a stick in the body, it will move.
• I like it, but if you don’t, you can ad a drinking straw in it.
Arms & Legs
Start with brown yam:
1. 6sc in MR 6sc
2. inc x 6 12 sc
3. 1 sc, 1 inc 18 sc
4. sc around 18 sc
5. in BLO 18 sc
6. 1 sc, 1 dec 12 sc
7. sc around 12 sc
Change your yarn color
8–23. sc around 12 sc
24. dec x 6 6sc
• Make 4 of them
• sew them with the moveable stitch to the body on round 10 (legs) round (6 arms)
Dots
1. 6sc in MR 6 sc
2. inc x 6 12 sc
3. sc around 12 sc
• Make 4 of them
• Sew them to the body, place them how you like
Tail
1. 6 sc in MR 6sc
2. – 16. sc around 6 sc
• Finish the tail and ad some brown yarn at the end of it
• Sew the tail to the body on round 8/10
Scarf
1. Cast on 8 ch
2. SI, K/P
3.–80. SI, K/P
4. Finish your work and make 2 pompons. Sew them to the ends of the scarf.
Download PDF Pattern


Bitte ziehen Sie PDF patterns in Betracht. Das wäre von Vorteil für Leute wie mich
You can download pdf pattern file.