


Hello everyone,
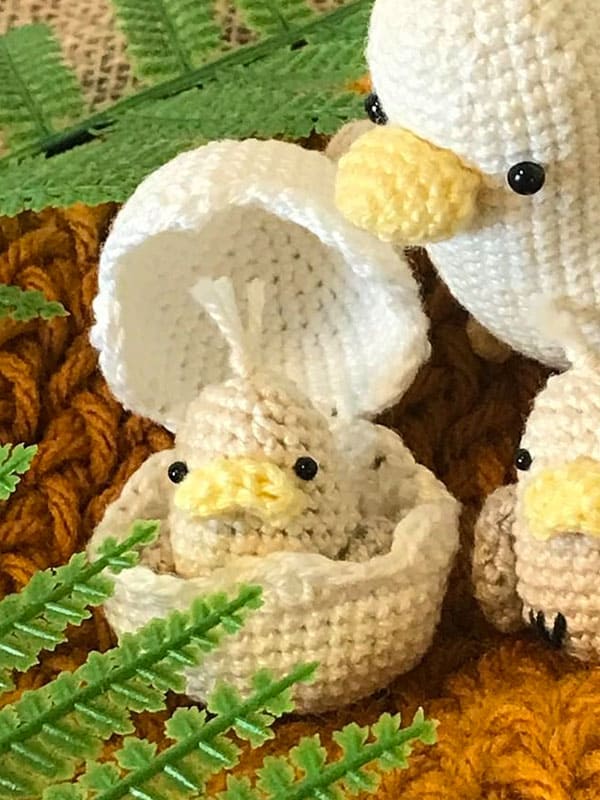
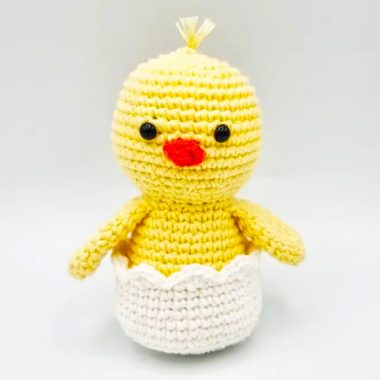
Today I shared the baby bird amigurumi pattern for you. Free amigurumi pattern is very easy to make step by step. It is a wonderful amigurumi pattern that you will use for decor in your home or office. You can prepare it as a surprise gift for children or loved ones. Thank you to the creator of the amigurumi bird pattern. You can crochet the amigurumi bird pattern in different colors.
Amigurumi baby bird pattern is very easy to make. You can make it with yarns that you do not use at home. The yarn thicknesses you need to pay attention to must be the same. We start the construction of the Amigurumi baby bird pattern from the body part. You can visit our lovelycraft.com page to see more amigurumi patterns. Then we crochet the wings and the beak part. After these pieces are completed, let’s crochet the eggshell part. You can change the eggshell color. After all the parts are completed, we assemble them as seen in the picture. Don’t forget to add the Amigurumi baby bird pattern to your favorite list.
PDF Crochet Baby Bird Amigurumi Free Pattern
Diseñador
Instagram: mstinacrochet
Materials
This is the material I used, but feel free to use whatever you have available!
• Yarn colors: beige, light yellow, black, light gray, white
• Insertion eyes diameter 2,5 mm
• Crochet hook
• Cotton fill
• Tapestry needle
• Glue
Note: I used 1,75 mm hook and Lace Yarn, the baby bird finished is 3,5 cm high which
doesn’t include eggshell and hair.
Abbreviation
MR– magic ring
ch– chain stitch
sc– single crochet
inc– increase (2 sc in the same st)
dec– decrease (crochet 2 st together)
hdc– half double crochet
dc– double crochet
tr– treble crochet
Slst– slip stitch
(…)*n– repeat the instructions in the brackets n times
(n)– amount of sts in the row
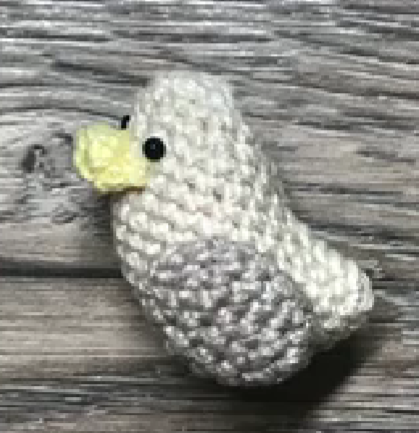
Let’s start crocheting the amigurumi bird pattern. Let’s crochet the body part first. 🙂
Body (beige)
Rnd 1. 6 sc in the MR (6)
Rnd 2. 6 inc (12)
Rnd 3. (1 sc, 1 inc)*6 (18)
Rnd 4. (1 inc, 2 sc)*6 (24)
Rnd 5. (5 sc, 1 inc)*4 (28)
Rnd 6-9. 28 sc (28)
(Forming the Body: turn to the back, turn, merge with 5 sts, turn back to the front to finish the neck)
Rnd 10-11. 18 sc (18)
Rnd 12. 1 dec, 14 sc, 1 dec (16)
Fill with cotton fill
Rnd 13. (2 sc, 1 dec)*4 (12)
Rnd 14. 12 sc (12)
Rnd 15. 6 dec (6)
Fasten off, close the hole and hide the yarn tail.
Let’s crochet the beak and wings of the amigurumi bird. 🙂
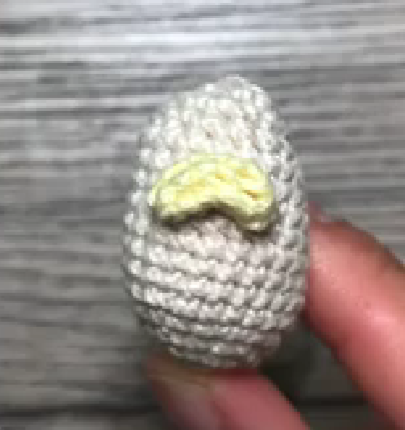
Lips (light yellow)
Rnd 1. ch5, inc from the second st, 2 sc, 3 sc on the next st, 2 sc, 1 inc (11)
Rnd 2. 11 sc (11)
Don’t stuff cotton.
Fasten off, leave a long tail for sewing.
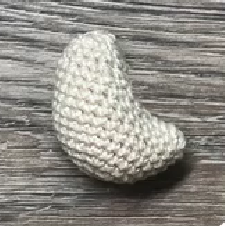
Wings*2 (light gray)
Rnd 1. 6 sc in the MR (6)
Rnd 2. (1 sc, 1 inc)*3 (9)
Rnd 3. (2 sc, 1 inc)*3 (12)
Rnd 4-5. 12 sc (12)
Rnd 6. (2 sc, 1 dec)*3 (9)
Rnd 7. (1 sc, 1 dec)*3 (6)
Don’t stuff cotton.
Fasten off, leave a long tail for sewing.
After completing the parts, let’s sew it to the body part. 🙂
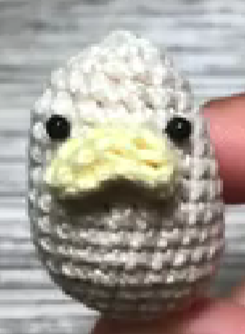
Assemble
1. Lips: Between R10 and R11
2. Eyes: Between R11 and R12
3. Wings: From R4 to R8
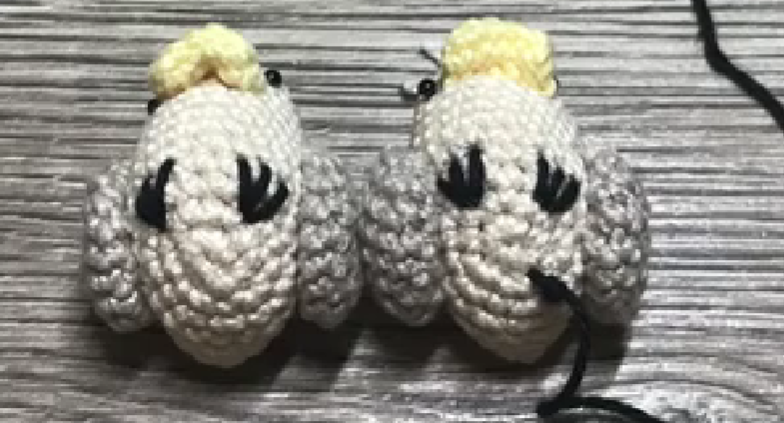
4. Hair: Fold a thread in half twice and tie it up at the end, trim into three pieces, and sew it on the top of the head.
5. Soles: Sewing from the outside in, 2 sts for each sole.
Let’s crochet the eggshell part of the Amigurumi baby bird pattern 🙂
The Upper Eggshell (white)
Rnd 1. 6 sc in the MR (6)
Rnd 2. 6 inc (12)
Rnd 3. (1 sc, 1 inc)*6 (18)
Rnd 4. 18 sc (18)
Rnd 5. (1 inc, 2 sc)*6 (24)
Rnd 6. 24 sc (24)
Rnd 7. (1 sc, 1 inc, 1 sc)*8 (32)
Rnd 8. 32 sc (32)
Rnd 9. (3 sc, 1 inc)*8 (40)
Rnd 10-14. 40 sc (40)
Rnd 15. (1 dec, 1 hdc, 2 dc in the next sc, 1 tr, 1 hdc, 1 dec)*5 (35)
Don’t stuff cotton.
Fasten off, close the hole and hide the yarn tail.
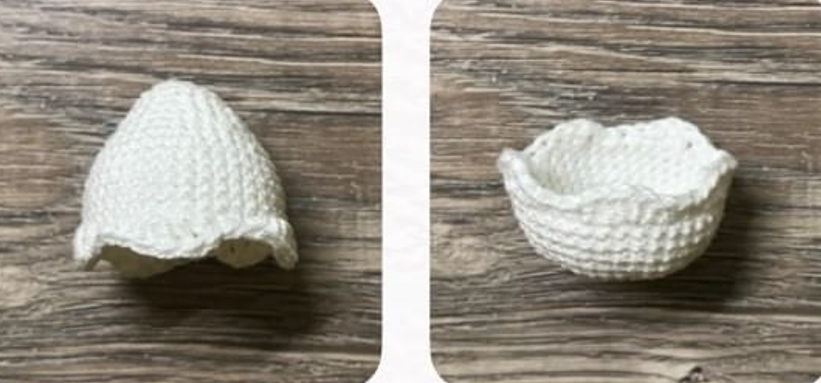
The Lower Eggshell (white)
Rnd 1. 6 sc in the MR (6)
Rnd 2. 6 inc (12)
Rnd 3. (1 sc, 1 inc)*6 (18)
Rnd 4. (1 inc, 2 sc)*6 (24)
Rnd 5. (2 sc, 1 inc)*8 (32)
Rnd 6. (3 sc, 1 inc)*8 (40)
Rnd 7-11. 40 sc (40)
Rnd 12. (1 dec, 1 hdc, 2 dc in the next sc, 1 tr, 1 hdc, 1 dec)*5 (35)
Don’t stuff cotton.
Fasten off, close the hole and hide the yarn tail.
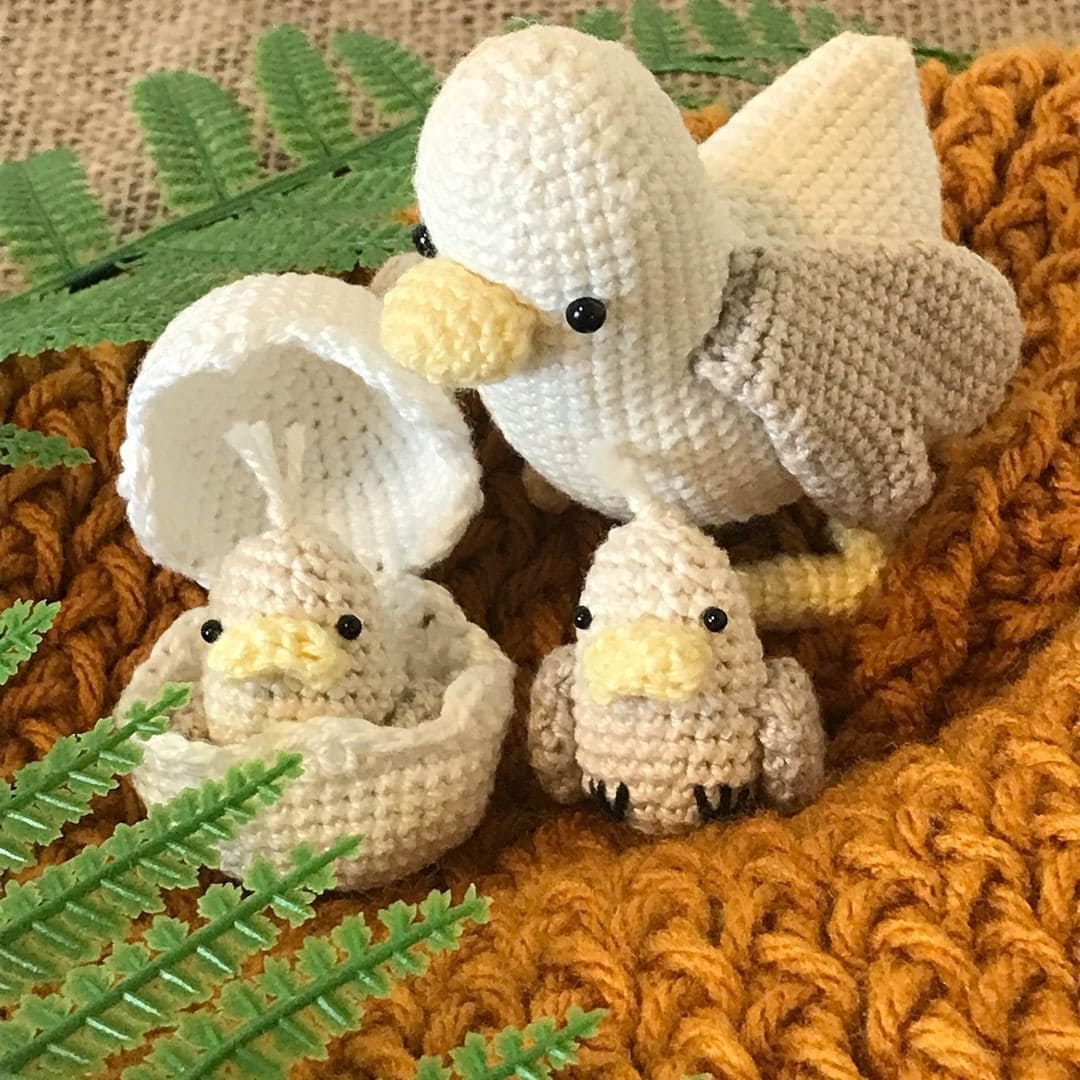
Congratulations, you have completed the amigurumi baby bird pattern. 🙂
