


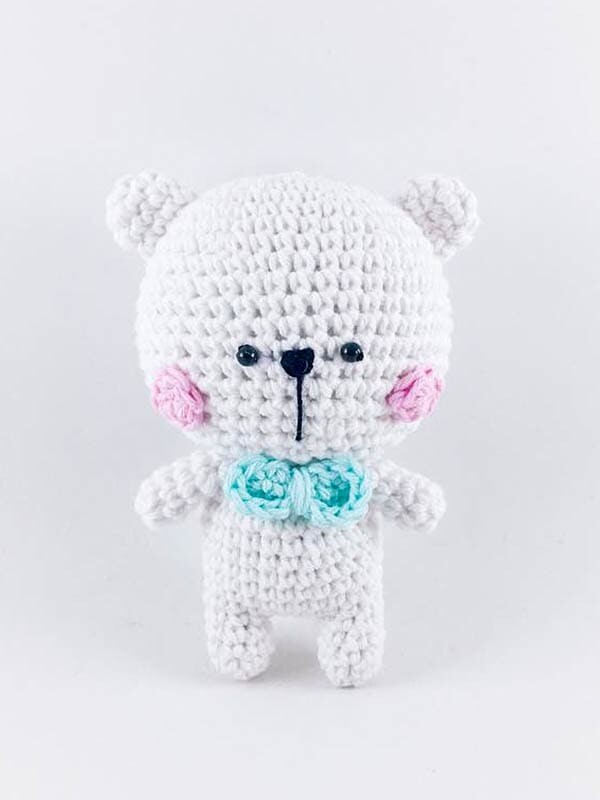
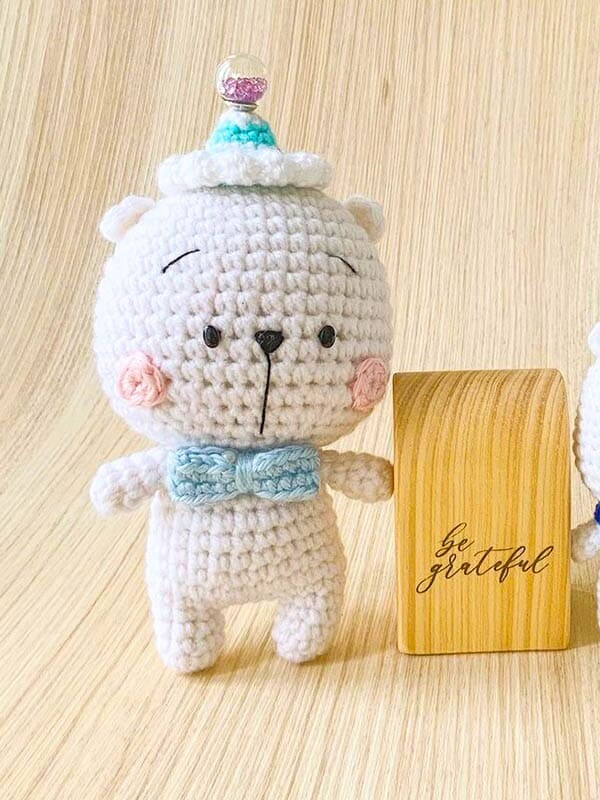
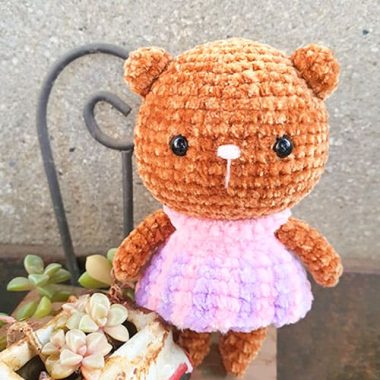
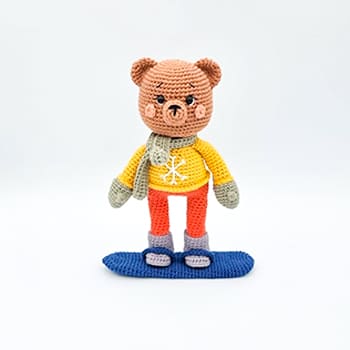
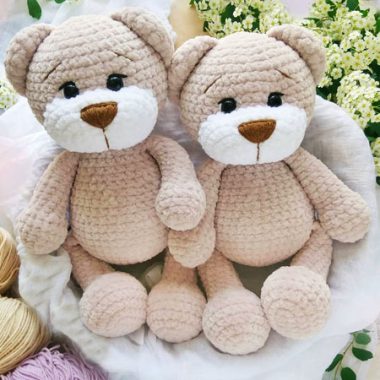
Hello guys, we’re entering a beautiful season and today I bring you an amazing free crochet amigurumi pattern. The cutest polar bear crochet toy looks pretty cute, right? What you need to do to add another playmate to your children is explained step by step in pattern details. Come on then, we can move on to the pattern.
Sweetest Polar Bear Amigurumi Pattern
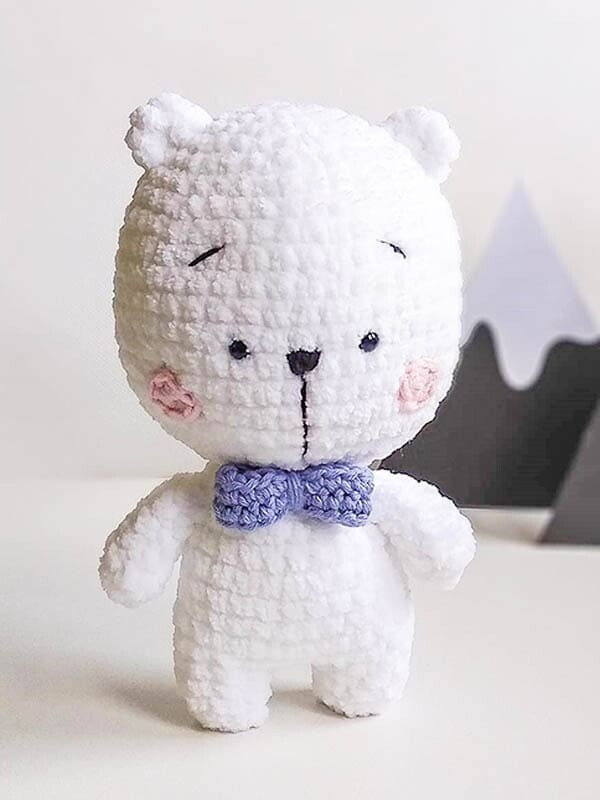
We are entering the Sweetest Polar Bear amigurumi toy free pattern, friends. You can make the accessories of the cute polar bear in the colors you want, or you can embroider it with plush yarn if you wish. You will see this in the sample pictures. A great and simple amigurumi pattern that you can crocheting step by step. Now, without boring you further, let’s move on to the pattern instructions.
Designer
Instagram: vania_marvel
Difficulty level: Easy


Size
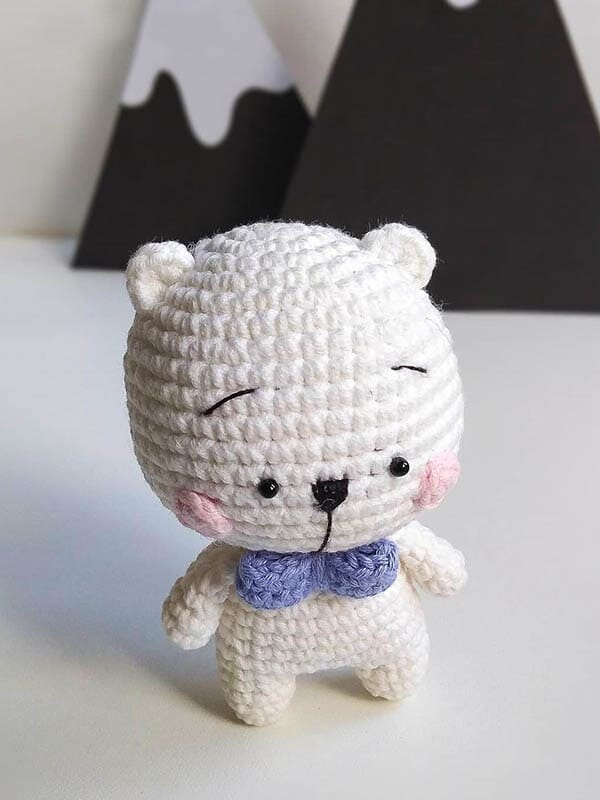
Caron simply used worsted yarn and a 3mm crochet hook. Your polar bear should be about 13cm/5.12inches tall. However, the exact size is not important.
Materials & Tools
• White, soft blue, soft pink yarn
• Black lace yarn
• Crochet hook
• Stuffing
• Black small beads/ 6mm oval safety eyes
• Tapestry needle and a smaller sewing needle
Abbreviations
ch– chain
sc– single crochet
inc– 2sc in one stitch
dec– single crochet 2 together
hdc– half double crochet
dc– double crochet
ss– slip stitch
When crocheting the cute polar bear amigurumi toy, we start from the head first.
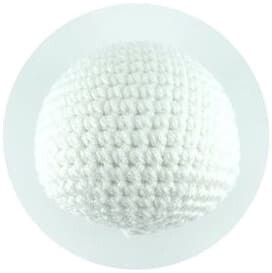
Head (in white yarn)
Rnd 1. Start 6sc in a magic ring (6)
Rnd 2. inc 6 times (12)
Rnd 3. (sc,inc)*6 (18)
Rnd 4. (sc2,inc)*6 (24)
Rnd 5. (sc3,inc)*6 (30)
Rnd 6. (sc4,inc)*6 (36)
Rnd 7. sc around (36)
Rnd 8. (sc5,inc)*6 (42)
Rnd 9-16. sc around (42)
Rnd 17. (sc5,dec)*6 (36)
Rnd 18. (sc4,dec)*6 (30)
Rnd 19. (sc3,dec)*6 (24)
Rnd 20. (sc2,dec)*6 (18)
Stuff the head.
Rnd 21. (sc,dec)*6 (12)
Rnd 22. dec*6 (6)
Finish off. Sew shut.
After crocheting the head part, we move on to making the body.
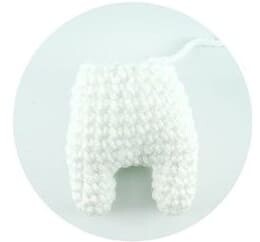
Body & Legs (in white yarn)
First leg:
Rnd 1. Start 6sc in a magic ring (6)
Rnd 2. (sc2,inc)*2 (8)
Rnd 3-4. sc around (8)
Cut the yarn and leave a short tail.
Second leg:
Repeat round 1-4, do not cut the yarn, ch 4.
Now still holding the last st of the second leg on your hook, take the first leg and insert the hook
in the next stitch after the last stitch you’ve done on the first leg.
Rnd 5. sc around (24)
Stuff the legs.
Rnd 6. (sc3,inc)*6 (30)
Rnd 7. sc around (30)
Rnd 8. (sc3,dec)*6 (24)
Rnd 9-12. sc around (24)
Rnd 13. (sc2,dec)*6 (18)
Fasten off leaving a tail long enough to sew to the head.
After crocheting his body, let’s combine it with his head. Then let’s start making the ears.
Ear (in white yarn); make two
Rnd 1. Start 6sc in a magic ring (6), do not join.
Fasten off leaving a tail long enough to sew to the head.
After crocheting her ears, let’s crochet the redness of her cheeks.
Blush (in soft pink yarn); make two
Rnd 1. Start 6sc in a magic ring (6)
Fasten off leaving a tail long enough to sew to the head.

After crocheting the cheeks, we start making hands.
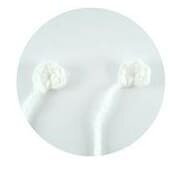
Hand (in white yarn); make two
Rnd 1. Start 7sc in a magic ring (7)
Rnd 2-5. sc around (7)
Fasten off leaving a tail long enough to sew to the body.
After crocheting your hands, we can start making the ribbon, then our cute polar bear amigurumi toy will be completed.
Ribbon (in soft blue yarn or any color you like)
Rnd 1. ch 19, sc 17, 3 sc in one stitch, sc 17, inc, ss

Finishing
1. Stuff and sew the body to the head.
2. Sew the ears to the head.
3. Sew the hands to body (no need to stuff).
4. Sew the blushes to the head.
5. Insert 6mm oval safety eyes between Rnd 13 & 14.
6. Embroidery the nose.
7. Sew the eyebrow using black lace yarn.
8. Sew the ribbon on the body or top of the head.
Download PDF Pattern


Muito obrigada
Estou adorando, os amigurumi