


Dear friends, hello to everyone.
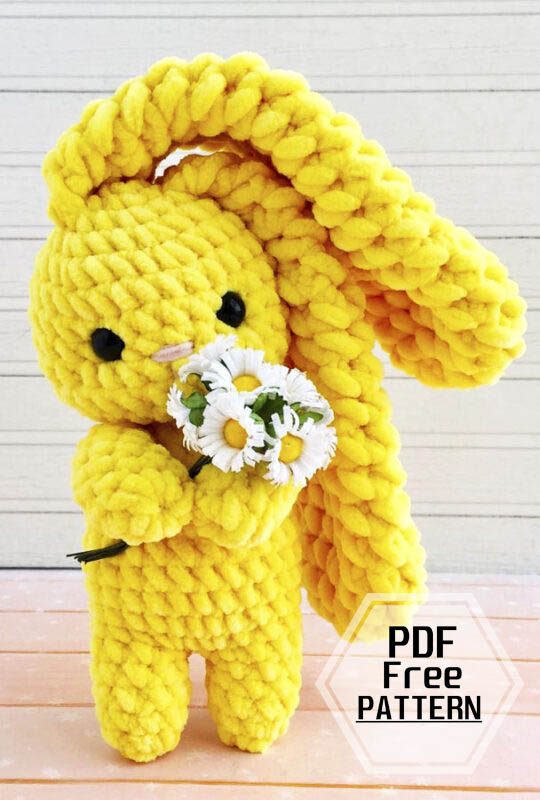
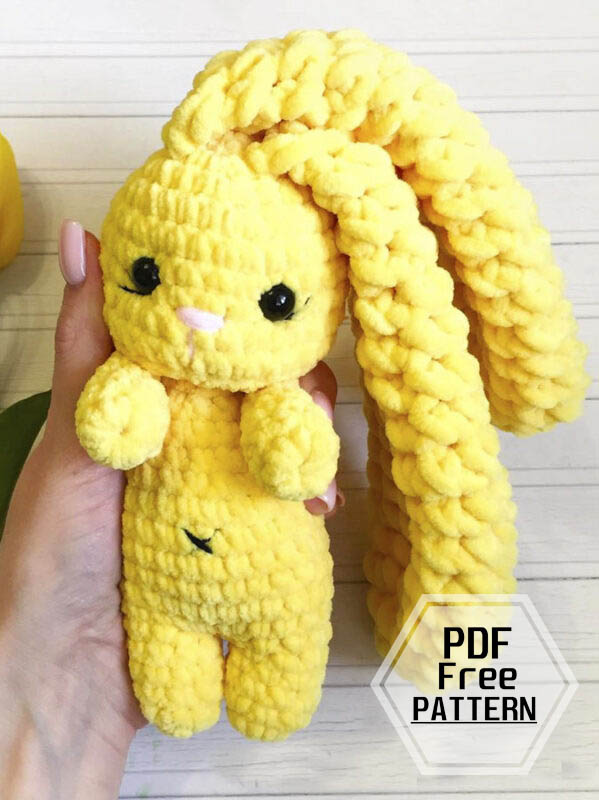
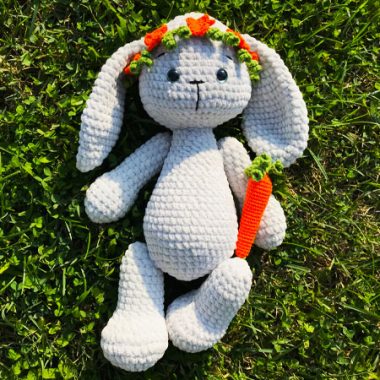
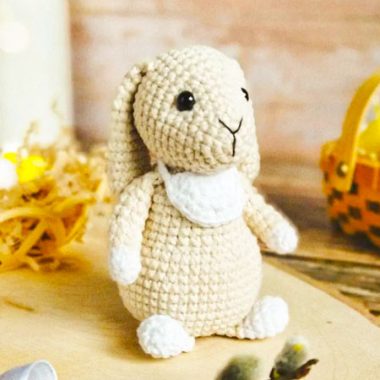
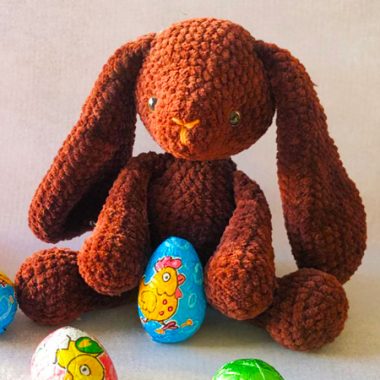
Today we will examine a beautiful bunny amigurumi pattern with you. This cute bunny is crochet with velvet yarn. I do not recommend crochet with a thin thread. Amigurumi has very nice body lines. I think the ratio between the bunny’s body and ears is very good. Also, I think it makes more sense to crochet this cute bunny in yellow.
When you look at the materials used, you will see that there are not many details. Although it seems difficult, a beginner can easily crochet this bunny amigurumi. So I suggest you try it. Especially the proportions of bunny’s ears and body are really impressive. Friends today I am sharing a very cute amigurumi pattern. A very impressive and easy amigurumi pattern. As you know, crochet bunny amigurumi models are highly preferred. This is one of the most popular models. Especially amigurumi buuny made using plush and velvet rope are very popular. You can download pdf file.
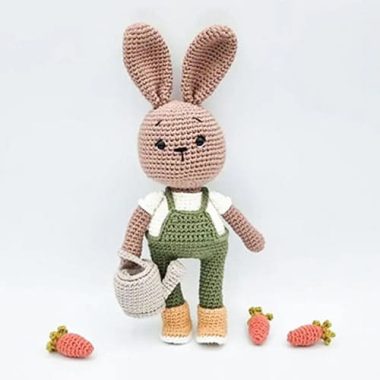
Sunny Bunny Amigurumi Free Crochet Pattern
Designer: toys_knit_anny
MATERIALS
1. Any plush yarn, I have YarnArt Dolce 761 color (less hank).
2. Hook 4,5 and 9 (for ears).
3. Yarn for spout embroidery. I have YarnArt Jeans.
4. Eyes on a secure mount or tidal 0.9 – 1 cm.
5. Filler. I have synthetic fluff.
ABBREVIATIONS
sc: Single crochet
inc: Increase
dec: Decrease
tr: Treble/Triple crochet
dc: Double crochet
hdc: Half double crochet
sl-st: Slip stitch
ch: Chain
st/sts: stitch/stitches
FLO: Front loop only.
BLO: Back loop only.
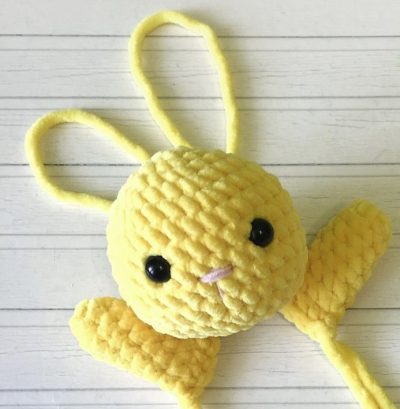
Lets crochet with bunny amigıurumi head!
HEAD (Hook 4-4.5):
1. 6sc in magic ring
2. 6inc (12)
3. (1sc, inc) * 6 (18)
4. (2sc, inc)* 6 (24)
5. (3sc, inc) * 6 (30)
6.-10. 30sc (5 rows)
11. (3sc, dec) * 6 (24)
12. (2sc, dec) * 6 (18)
13. (1sc, dec) * 6 (12), slst.
We leave the yarn for sewing.
We insert the eyes between 7 and 8 rows at a distance of 5 sc.
We fill our head with filler, we embroider the nose.
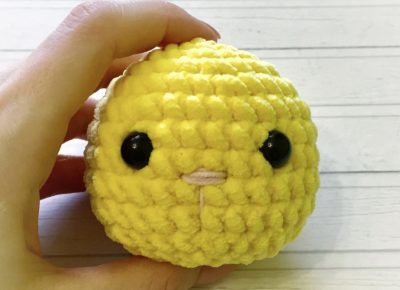
Bunny amigurumi’s head is ready. Second legs and body.
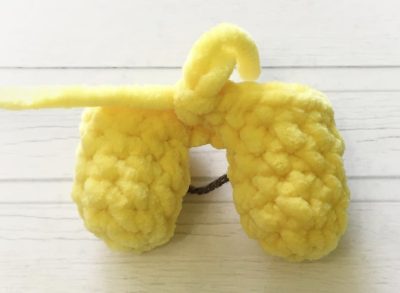
LEGS and BODY
crochet in one piece.
We start crocheting with the legs.
1. 6sc in magic ring
2. (1sc, inc) * 3 times (9).
3-5. 9sc – 3 rows
We cut off the thread at the first leg, crochet the second one of the same part.
We do not cut the thread at the second leg, we crochet 2ch, then we connect the legs.
6. 9 sc on the first leg,2sc along a chain of air loops, 9sc on the second leg, 2sc on the other side of the chain (22).
7. 9sc, 1inc, 1sc, 1inc, 10sc (24).
8 – 12. 24sc – 5 rows.
At this stage, you can fill the legs.
13. (2sc, dec) * 6 (18).
14-15. 18sc – 2 rows
16. 4sc, dec, (3sc, dec) * 2 times , 2sc (15).
17. 4sc, dec, (2sc, dec) * 2 times , 1sc (12), slst.
We fill the body with filler.
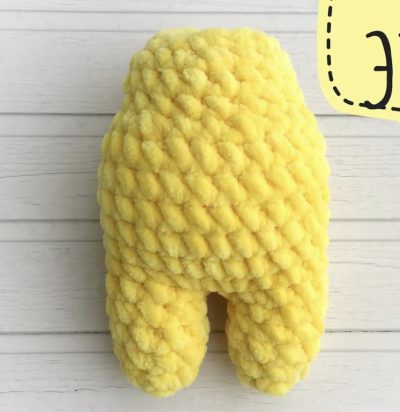
We crochet the legs and body of the bunny amigurumi. Next part “arms”.
ARMS
1. 8sc in magic ring
2-8. 8sc (7 rows).
We fill the arms 1/3.
Crochet the loops 4 sc, leave the yarn for sewing.
EARS
2 details.⠀
1. 7sc in magic ring
2. 7inc. (14).
3. 14sc
4. (1inc, 6sc) * 2 times. (16).
5-6. 16sc
7. (1dec, 6sc) * 2 times. (14).
8. 14sc
9. (1dec, 5sc) * 2 times. (12)
10-11. 12sc
12. (1dec, 4sc) * 2 times. (10).
13-14. 10sc
15. (1dec, 3sc) * 2 times. (8).
⠀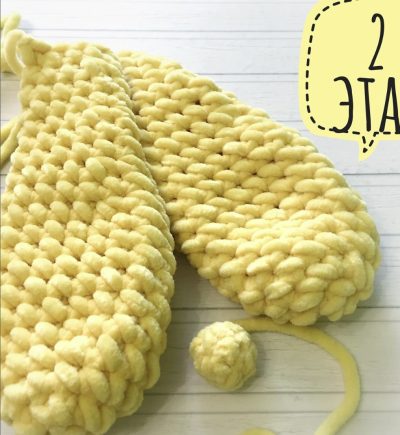
Fold the Ears and connect 4 sc. Leave the yarn for sewing.
Finally, we crochet the tail of the bunny.
TAIL
The hook with which the previous stage was crocheted.
⠀
1. 6 sc in magic ring
2. (1inc, 2sc) * 2 times. (8).
3. (1dec, 2sc) * 2 times. (6), slst.
Leave the yarn for sewing. Fill the tail with synthetic fluff.
Assembly
1. Hands – I sew at an angle so that they are located slightly forward (flip through the tape ).
2. How to position the ears, also look at the photo. I always advise you to go through the ears twice, as kids love to tug on them .⠀
3. Sew the tail between 4 and 5 rows from the crotch (see the photo in the tape).
Your Sunny Bunny Amigurumi is ready!
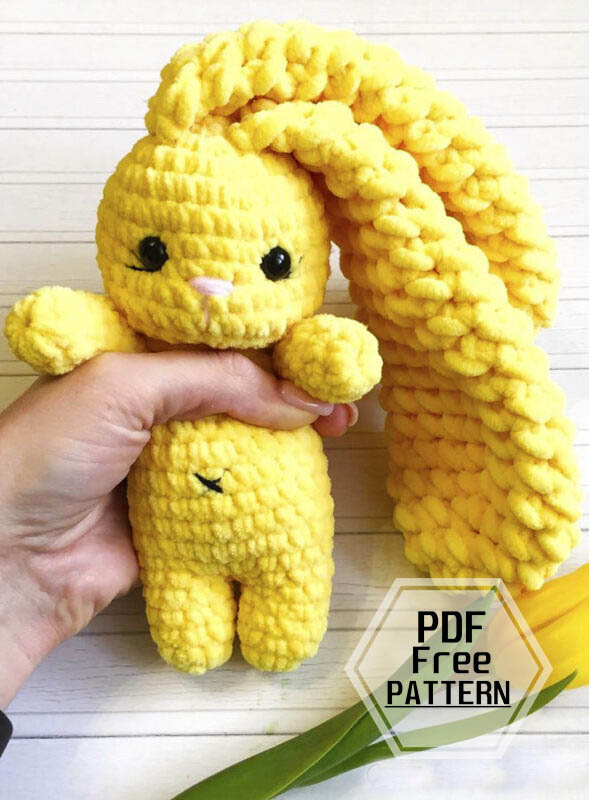
Download Pdf File
Are these abbreviations just a general list? I don’t see where anything other than a single crochet is used in the pattern.
There’s decreases and increases AND slipstitches
Great pattern, really easy to follow. Thanks a lot for this one .))
Hi there! I’m looking to start an online business to sell crochet toys I make. Can I use your pattern? If so, Would you like me to credit you?
Completely inaccurate directions. None of the proportions are right and it looks nothing like the picture. This was a waste of time.
ears are much shorter than on photo );